
Last Updated: 5/14/24
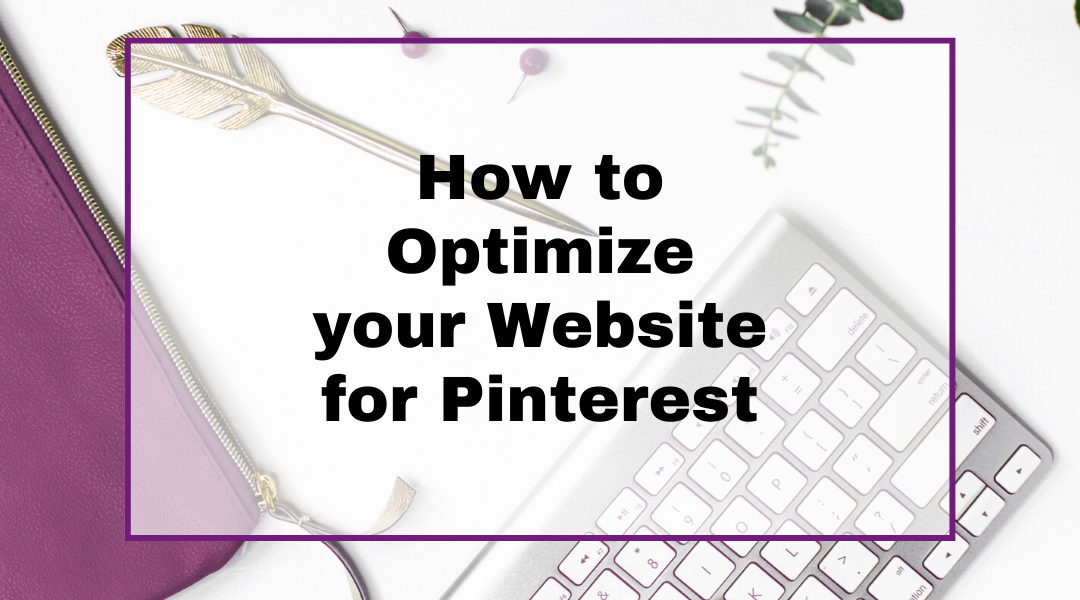
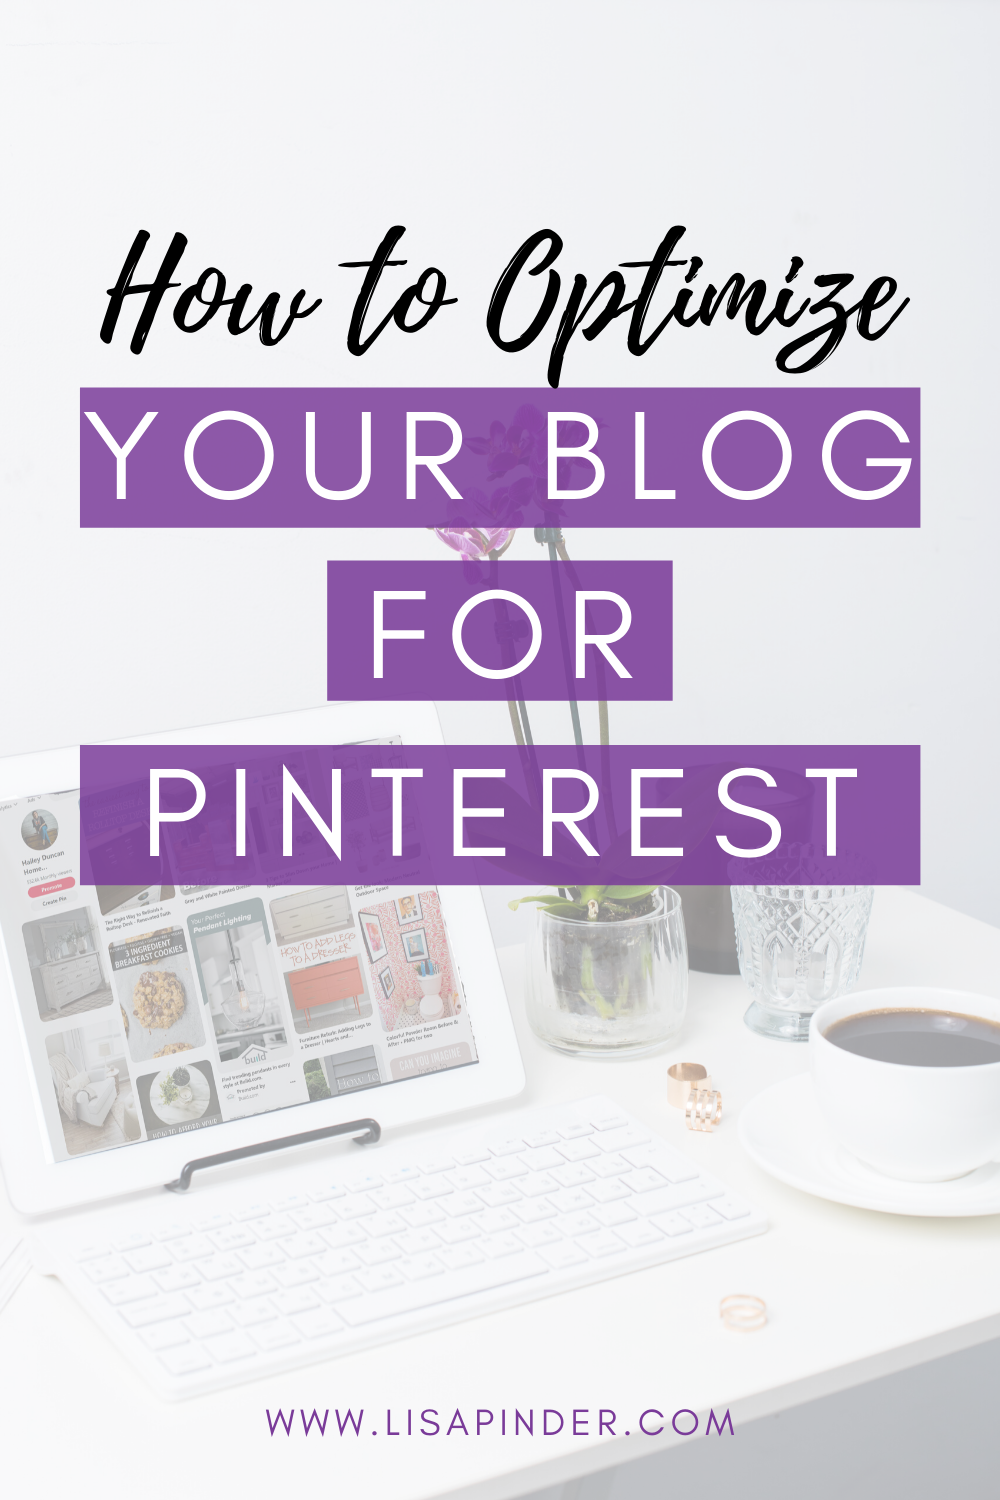
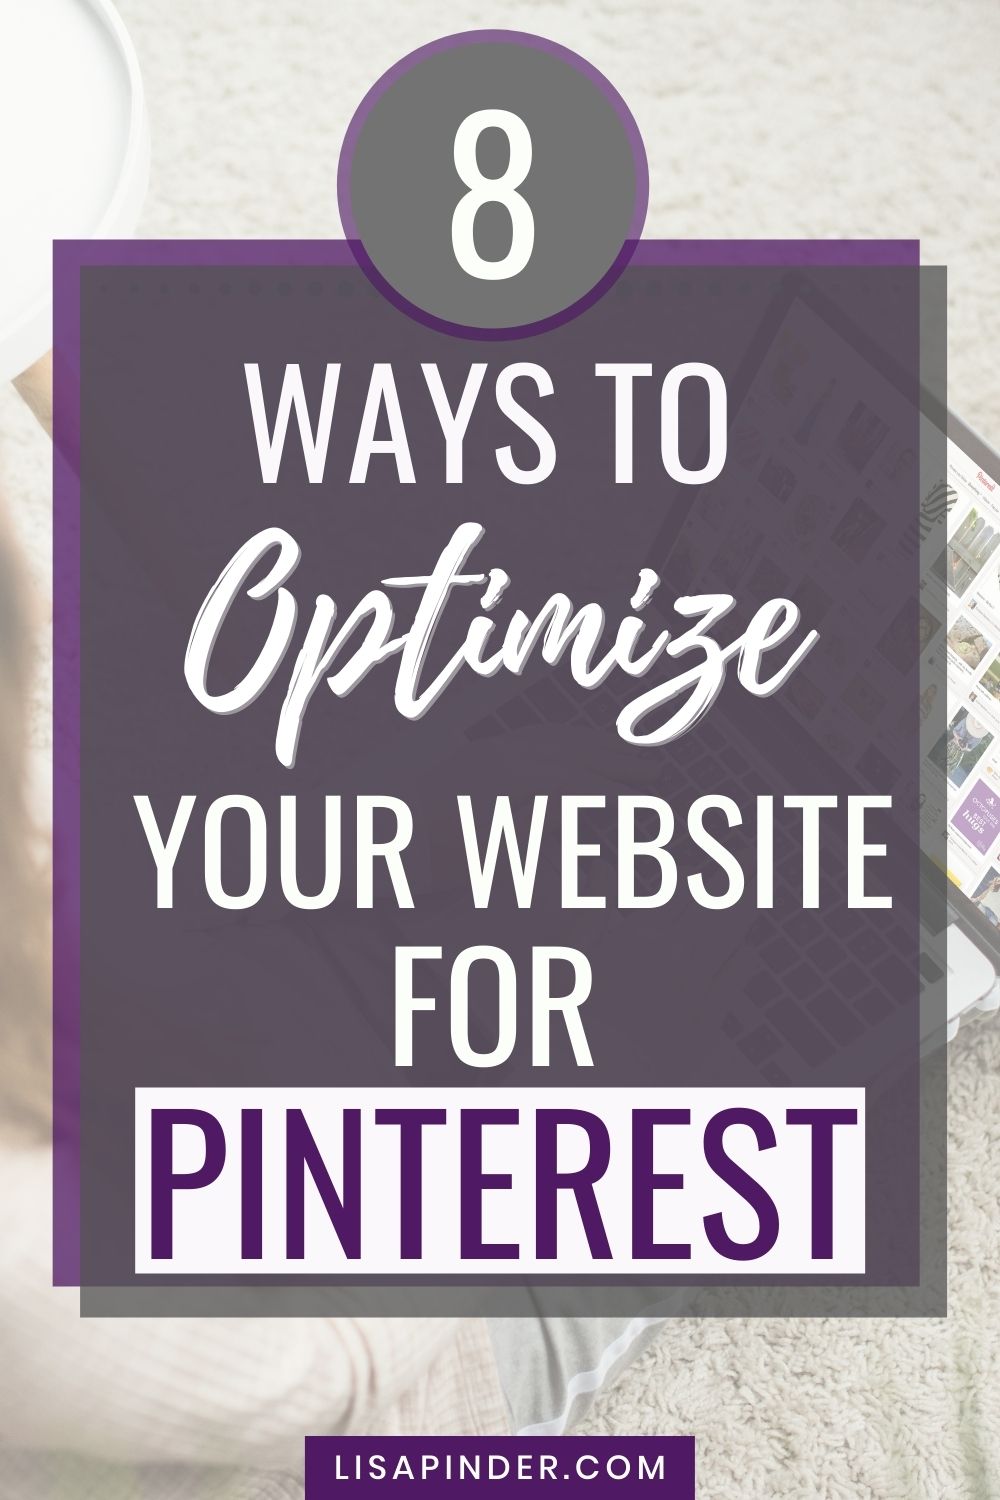
When you use Pinterest for your business, there is more to consider than just what you do on Pinterest. Making sure your website is optimized for Pinterest is an important step to your success with Pinterest marketing. There are a few things you want to do to prepare your website as part of your Pinterest strategy. So we are going to take a look at how to optimize your website for Pinterest.
The #1 Thing to Have on Your Website
I am going to start with the most important thing to have on your website. When someone visits your website from Pinterest, they are likely a cold audience that hasn’t been there before. They don’t know you, and they don’t know what you do. You created a pin that caught their attention and intrigued them enough to click through. So you need to guide them with what you want them to do when they arrive at your site.
You need a clear call to action, whether that’s an email opt-in that leads them to a nurturing sequence/funnel or a sales page. Make it obvious what action you want your visitor to take.
I really believe this is the #1 thing to have on your website. If you are driving people to your site using Pinterest, you want to be doing it for a purpose. Just getting clicks to your website isn’t going to do much for most blogs (There are some people that get enough visitors to make money off ads on their site alone, but most businesses should have another stream of income).
But don’t stop there! There are some additional things you can do to get your website ready for Pinterest. Keep reading….
Optimize your Website for Pinterest
Verify Website
Part of the process of setting up a Pinterest business account is verifying your website and enabling Rich Pins. Ensure both of these tasks are done to make the most of your Pinterest efforts.
Claiming your website will help identify pins that come from your website. You’ll be able to see pins from your website in your analytics. It will also help users find your website from Pinterest. There are multiple ways claiming a website can be done.
To get started, go to the Pinterest Menu (3 dots in the corner), and select “Edit Settings”, then choose “Claim.” Then you will need to add a meta tag to your website.
On a self-hosted WordPress site, the easiest way to add the meta tag is to use the Yoast SEO PlugIn, where you can paste your metadata confirmation under Social > Pinterest.
For WordPress hosted (www.wordpress.com) sites, you can paste the metadata under Tools > Marketing.
In the past, you would have also wanted to Enable Rich Pins as part of your set up. Pinterest has changed the set up of Rich Pins, so it is no longer a manual process to enable them. You can read more about Rich Pins here.
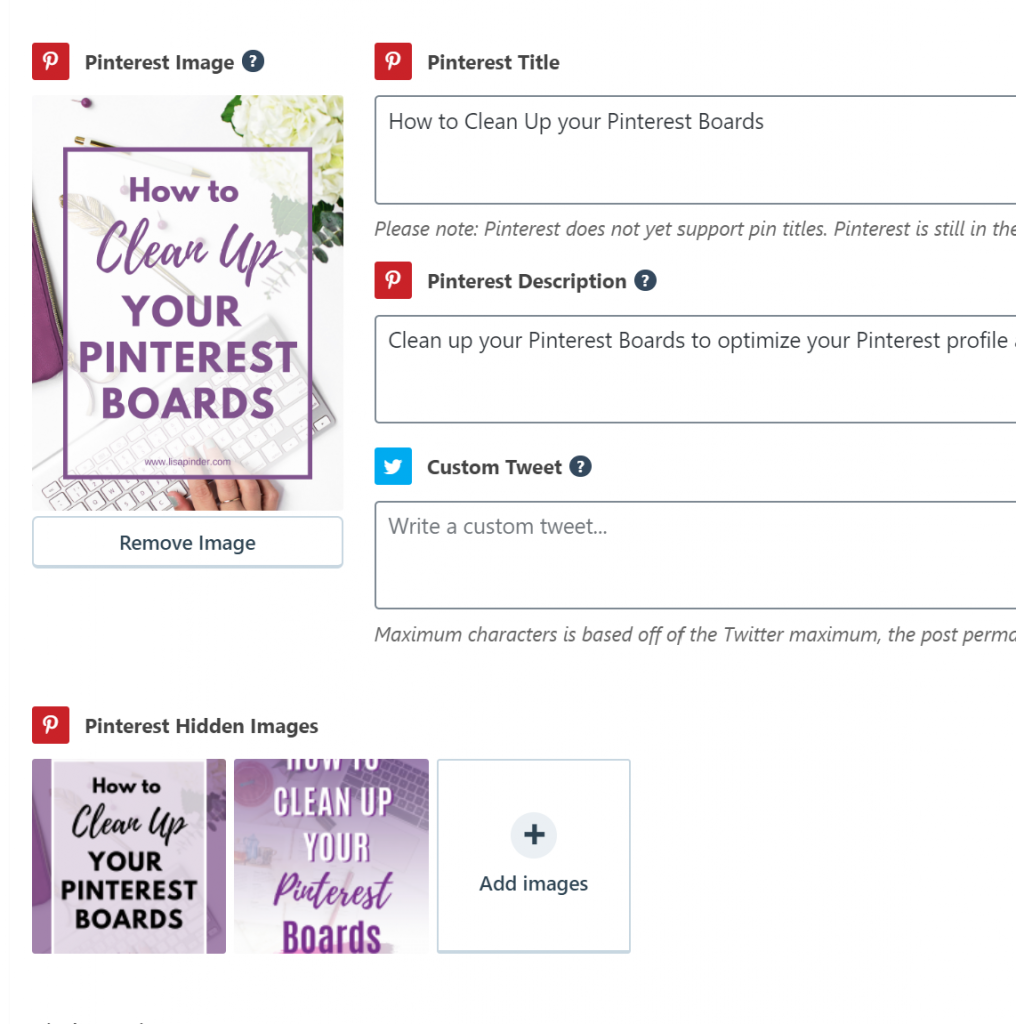
Pinnable Image
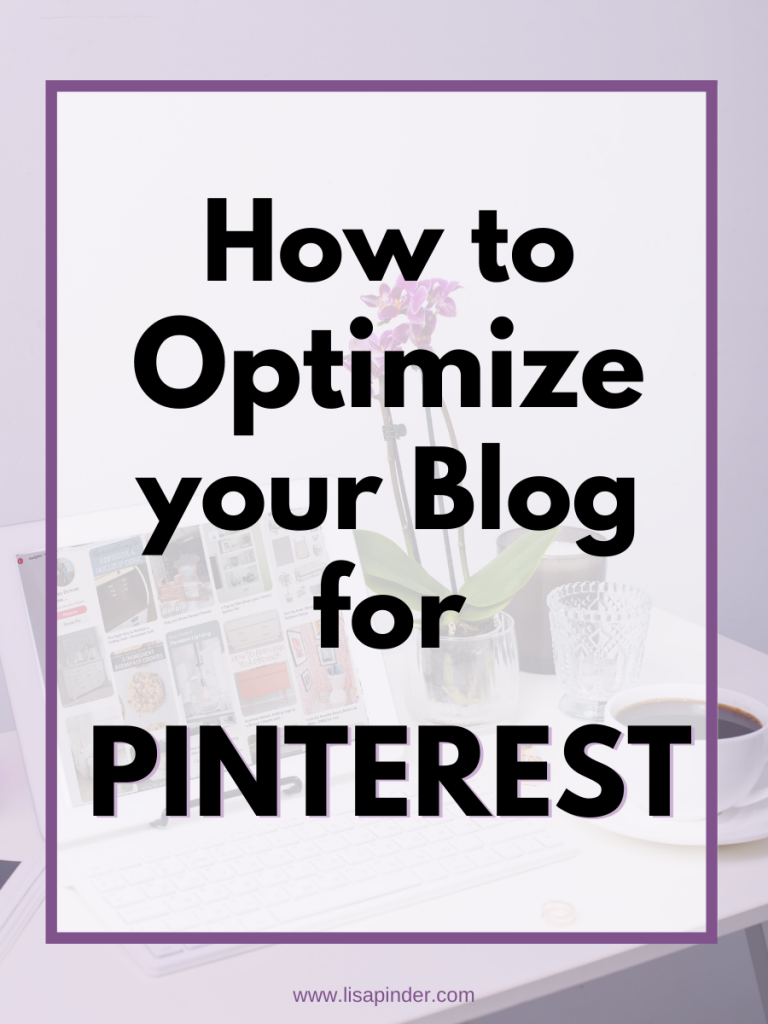
Every blog post should have at least one pinnable image. A pinnable image is a tall image that will catch attention. The recommended size is a 2:3 ratio, such as 1000 x 1500 pixels. Use a bold text overlay that is easy to read. Most Pinterest users are on mobile, so you want text that is easy to read on a phone. The text overlay is also important because Pinterest reads the text on your image to know what it is about. You want this Pinterest-friendly image on your blog so someone reading your post can easily pin the image.
Hidden Pin Images
Since Pinterest wants to see fresh/new images, you should have additional pin images for each post, but they do not necessarily need to be on the post. When you have more images, it can slow your site down, which does not help with SEO. Also, since Pinterest images are tall, they can be annoying for the reader to scroll past if you have multiple large and tall images.
I like to hide additional pin images within my posts so if someone clicks the share button, they have several to choose from. There are several plugins that can do this for you. Two of the most popular are WP Tasty Pins and Grow by Mediavine. A paid version is required for both plugins. I think it’s worth the cost due to other features both plugins provide, including the ability to prevent other (non-Pinterest) images in your post from being pinned.
There is also a way to add a little code to your post to hide images for free. You just need to add this code, followed by your images: <div style=“display: none;”>
So it will look something like this:
<div style=“display: none;”><src=”https://lisapinder.com/wp-content/uploads/2020/05/How-to-Optimize-your-Website-for-Pinterest-683×1024.png”data-pin-description=”Add a Pin Description here”></div>
Pin Description
After you have a Pinterest-friendly image on your post, you want to make sure it is set with a pin description. This is so when a user saves the image from your site, the pin description you wrote will automatically fill in. This ensures it gets pinned with the description you want including the right keywords, which helps your pins get discovered.
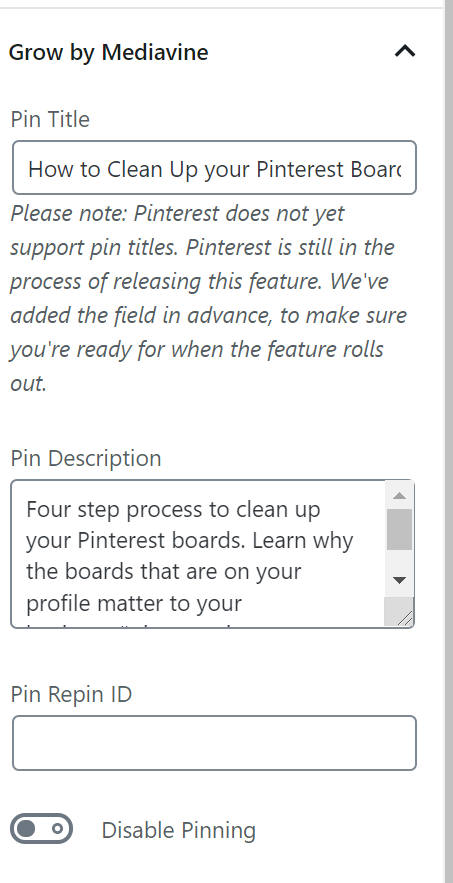
Currently Pinterest is using the Meta description you have on your blog post to fill in the pin description. Even though some plugins have a place to enter a pin description (as shown below), Pinterest will still use the Meta Description.
To make this process easy, you can use the plugins mentioned above. Both WP Tasty Pins and Hubbub have a field to fill in the pin description, so it goes to the right place on Pinterest.
You may have heard to fill in the alt-text for the image with your pin description, but this is bad advice. While the alt-text is what will fill in for the pin description if no other pin description is defined, it is not the purpose of alt text. Alt-text is intended to describe an image for the vision impaired. Using alt text incorrectly (too many words, and not accurately describing the image) can hurt your Google SEO.
So instead of using alt text, there is another free way to add pin descriptions to your images using code.
data-pin-description=“Input Pin Description Here”
This is what it will look like:
<img src=How-to-Optimize-your-Website-for-Pinterest-683×1024.png” alt=”Describe your image for Alt-text” data-pin-description=“This is where your pin description goes!” />
Add a Pin It/Save Button
You want to make it easy for users to save your images, so add a “Pin It” or “Save” button to your Pinterest-friendly image. There are numerous plugins that accomplish this as well, including WP Tasty Pins and Hubbub that were previously mentioned.
If you are using Squarespace, you can add the Pin It button in your website settings.
Another option is the Pinterest Widget builder which gives you a few customization options, then generates code for you to use. This is handy if you are using a platform that doesn’t have plugins.
Social Share buttons
You can also add Social Share buttons to your post. These are the buttons that show to the side, above, or below a post that allows the post to be shared to various social media platforms, including Pinterest. This is accomplished with a plugin or your website theme might have it as a setting.
Pinterest Follow Button
You can also add a button to your posts for users to follow you on Pinterest using a widget. This is another thing you can do to help out your users and make it easy to find you on Pinterest. This can be as unobtrusive as you want. It can be as simple a little follow button on your website or a pop up that puts it in front of your reader. MiloTree is a popular tool for a social follow pop up.
You can also embed one of your Pinterest boards into your post or sidebar. This makes it easy for a user to see one of your specific boards. From there they can choose to follow you or that board.
Optimize your Website for Pinterest
Making sure you have done each of the things above will help ensure your website is optimized for Pinterest, so you can make the most of those Pinterest visitors that find your little corner of the web.
If you need any help with these steps to optimize your Pinterest account or website, these are all services I help my clients with as a Pinterest Manager. You can book a Discovery Call here.
Awesome post! Super helpful and I will definitely be purchasing one of theses plug ins. Could you help me decide even further by explaining with (Tasty Pins or Grow) you prefer over the other and why? Can you outline in differences in the features they offer? In particular, does either one offer a Instagram button? Does Tasty pins offer the same types of social icon bars that Grow does? (floating sticky sidebar, in-line above, in-line below, etc.) Regarding Pinterest optimization, do both plugins pull over both the pin title and pin description from your blog post to you pin inside of Pinterest when you ready to actually pin it? Thanks in advance!
Thanks Cyndrea! Glad you found it helpful! As for choosing one over the other, I currently use Grow and haven’t used Tasty Pins myself, so can’t speak from experience on that one (but I know it is a popular option). They are both very similar in regards to Pinterest optimization and being able to add separate pin descriptions and hidden pin images. I ended up choosing Grow because it had the additional social share options, like the floating social bar. From what I can tell Tasty Pins doesn’t have that feature, but you could probably add an additional social share plugin to achieve that. I don’t believe either of them have a special Instagram button. I really don’t think you can go wrong choosing either one. I believe Tasty Pins is a few dollars cheaper than Grow (when I bought Grow they were the same price). Hope that helps!
Thanks this has been super helpful
Great! Glad you found it helpful!